Tutorial: Creating Seamless Textures: Difference between revisions
No edit summary |
No edit summary |
||
| Line 12: | Line 12: | ||
[[File:TexTutorialFour.jpg]] | [[File:TexTutorialFour.jpg]] | ||
The only thing left that we have to do now to make the texture tilable is to remove the seams that you can now see in the image. This is best done with the clone brush: We clone areas that fit to the existing features in the texture from other parts of the image onto the seams. With regular patterns like bricks, wooden boards etc. this is more challenging than with more random patterns like our rock here. We choose a smooth clone brush with 100% opacity to clone the areas onto the seams. | |||
[[File:TexTutorialFive.jpg]] | [[File:TexTutorialFive.jpg]] | ||
While painting, we not only paint over the seams but also a little bit to the left | |||
[[File:TexTutorialSix.jpg]] | [[File:TexTutorialSix.jpg]] | ||
[[File:TexTutorialSeven.jpg]] | [[File:TexTutorialSeven.jpg]] | ||
Revision as of 13:13, 26 May 2009
If you want to create a seamless texture, you first need a eligible photo. As we want to make it tilable, it may not have any too eye-catching features on there. Small ones however can be fixed. The most important thing is that the lightning is even - in many photos, the top is slightly more light than the bottom. Even a small difference in lightning will be striking in a seamless texture! Textures with repeating regular patterns like bricks need to be rotated upright first before being processed further.
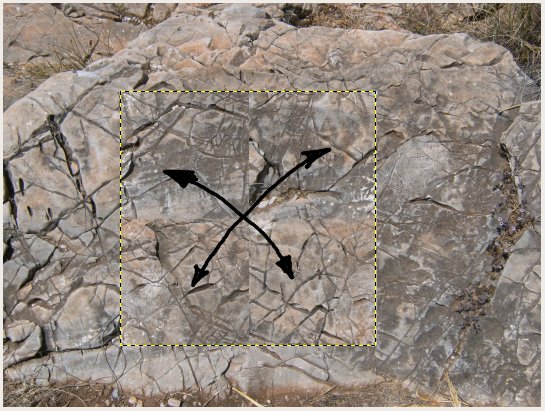
We will start with this photo of a rock. We first make a square selection. The size should be something like 1024x1024 or 512x512.
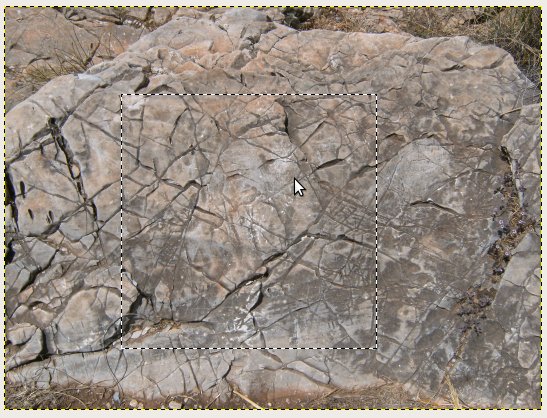
We will not use the crop tool to cut out the texture but the selection tool, creating a new layer. In GIMP we first create a floating selection (Shift+Ctrl+L) and then a new layer out of it (Shift+Ctrl+N).
Now, we displace the areas in the texture as shown below. How to do this? We can use the displacement feature to displace the texture by half it's size. In GIMP, it is Layer->Transform->Displace (Shift+Ctrl+O).
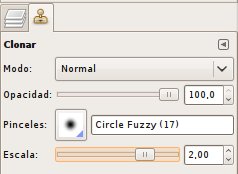
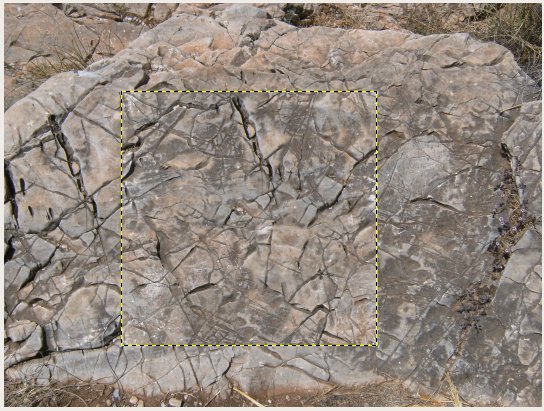
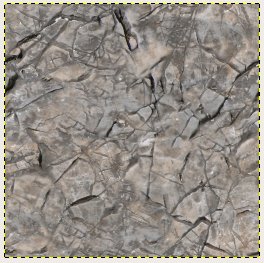
The only thing left that we have to do now to make the texture tilable is to remove the seams that you can now see in the image. This is best done with the clone brush: We clone areas that fit to the existing features in the texture from other parts of the image onto the seams. With regular patterns like bricks, wooden boards etc. this is more challenging than with more random patterns like our rock here. We choose a smooth clone brush with 100% opacity to clone the areas onto the seams.
While painting, we not only paint over the seams but also a little bit to the left
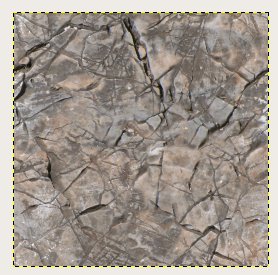
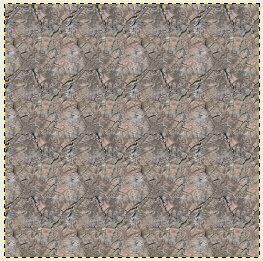
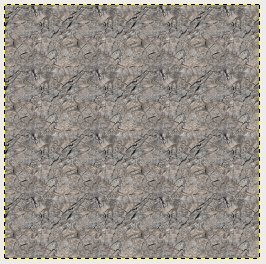
Filter -> Map -> Small tiles


