Building with Windows
Get the sources
The source of OpenClonk is hold in a so-called version control system. Put simply, this is something that allows programmers to coordinate their work. For the moment, it's just a couple of files you want to download.
Install TortoiseHg
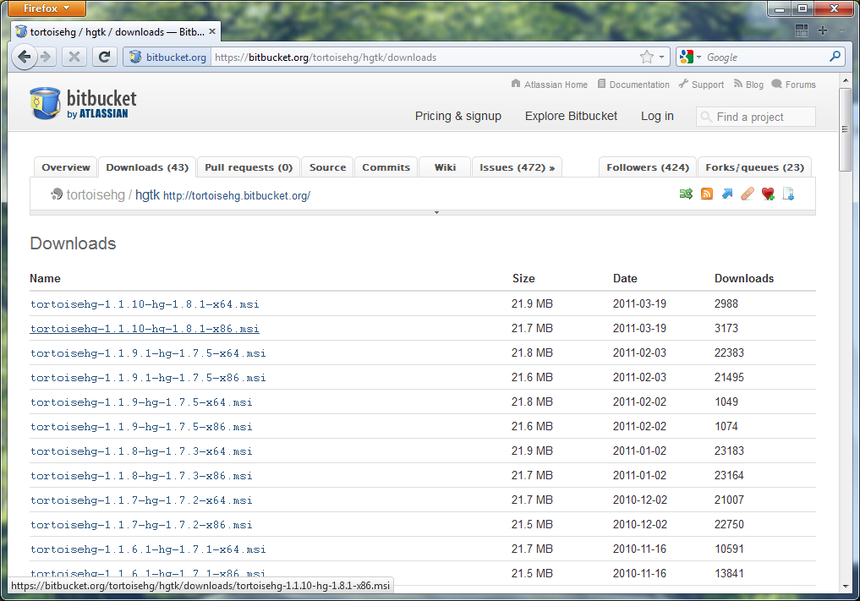
The notable difference to a simple download is that you need a special program to do it. Our version control system is Mercurial, and we will use the TortoiseHg client. Follow that link and click "Download".
We pick the most current version for Windows available. Note your processor architecture, there are builds for 64bit processors available.
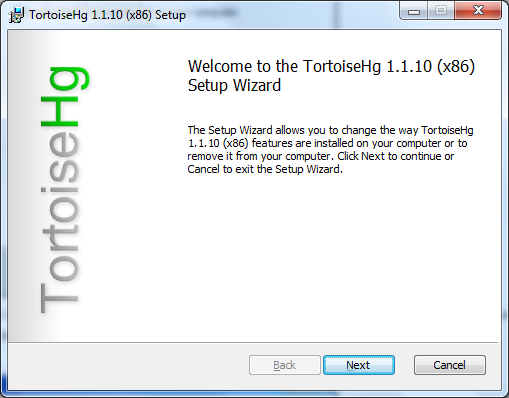
After the file has finished downloading and we have managed to get through all the warning boxes, we finally arrive in the installer. Nothing interesting to see here, just install it somewhere.
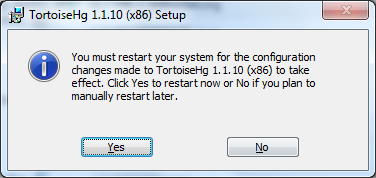
I won't lie, I never restart my computer when I'm asked to. You might do so, but from what I know you only get a few colorful icons as a reward.
Clone
Okay, now we are going to download the sources. Mercurial calls this "cloning" because it's actually a lot more than just the sources you get. We will later see what we can do with this extra stuff.
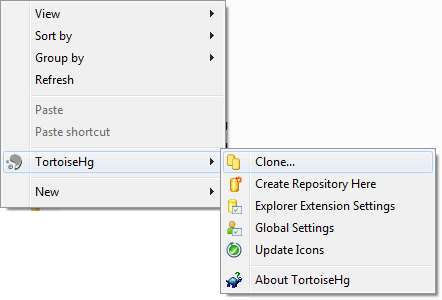
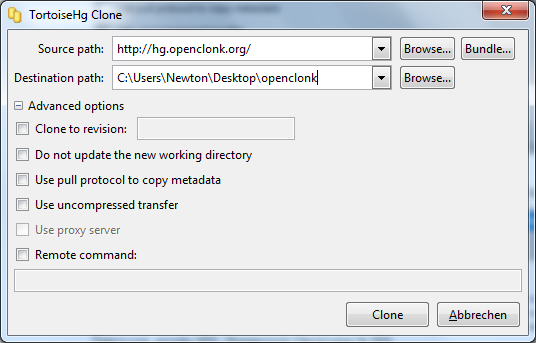
For now, just find a place where you want the source to be, open the context menu by right-click and select "Clone..." from the "TortoiseHg" menu:
A dialog will appear asking for the source and destination paths. In our case, we want the source to be the OpenClonk repository. The URL you need is http://hg.openclonk.org/". Put it into the "Source Path" field and click the "Clone" button:
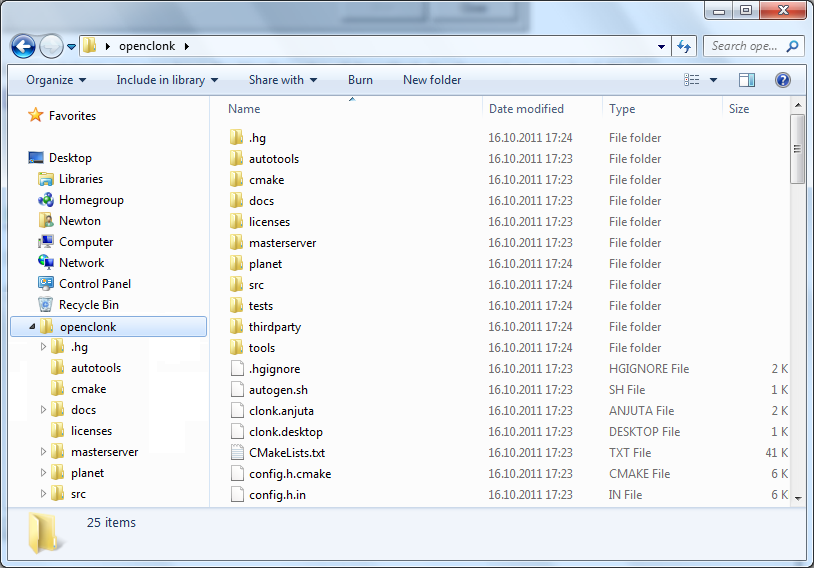
TortoiseHg will work for a while. Eventually, it should say "Cloned successfully". Congratulations, you now have the bleeding edge of OpenClonk development on your hard drive!
At first glance, this a lot of stuff and most likely you won't understand much of it. The good news is that you don't need to pay attention to most of it. The interesting parts are:
- "docs" - the sources of the documentation you might know from the Clonk Homepage
- "planet" - game resources. If you have used Clonk's development mode, the contents will probably look familiar.
- "src" - the source code of the engine
Get it to Compile
This is nice, but we are interested in seeing the game run, aren't we? For this, we need a program that will take all those C++ files and make an executable file out of it. Unfortunately, programming is complicated stuff so even setting up the tools and the environment has become a bit of science. But this won't stop us.
Get Microsoft Visual Studio
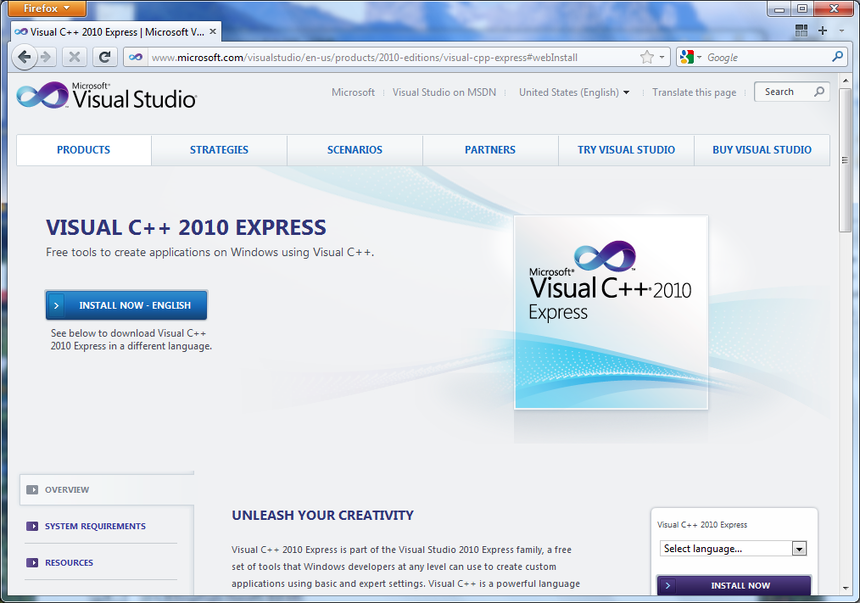
You can say what you want about Microsoft, but they sure make nice development environments. And they are even giving a lot of it away for free. We will use Visual Studio C++ 2010. Follow that link, select your language and select "Download".
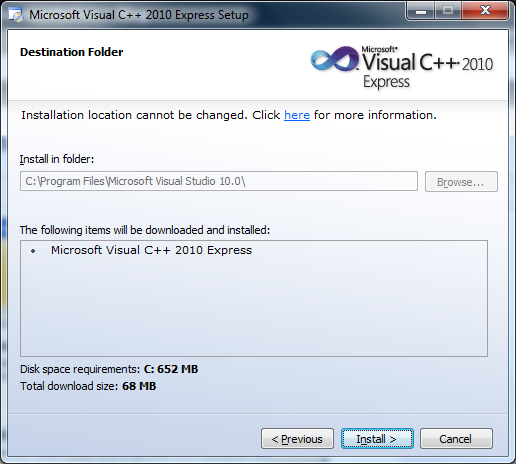
The installer will offer us a lot of stuff we don't really need for OpenClonk. You should uncheck it to make the installation faster.
You will most likely stare at the following screen for a bit. It won't take that long, and for me didn't even restart the computer like it suggested it would.
Get Dependencies
Like most big programs, OpenClonk doesn't stand on its own. Some things (like opening PNG images) were already programmed by other programers far better than we could ever do. This is why we have to get a few so-called "libraries" before Clonk can be built.
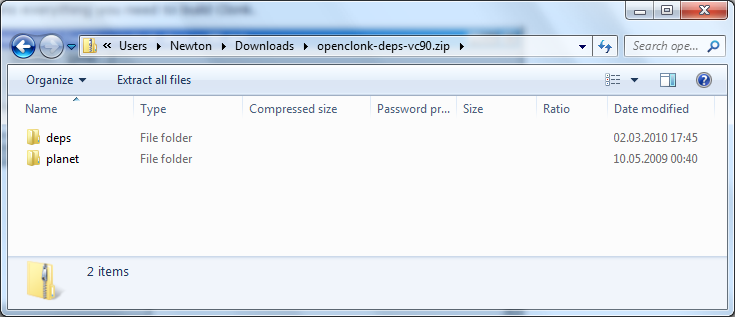
You could try to search and download all those libraries by hand, but that would be pretty boring. Instead, just download this package that contains everything you need to build Clonk.
Unpack both directories into the same path you put all the other files. Don't worry, nothing will get overwritten in "planet".
Get CMake
Before all this becomes useful, we still need something that tells the compiler how all those sources and libraries should be compiled together.
For this, Visual C++ needs a project file. But there is none - we have to consult another program to generate it for us. This might seem confusing - but the point is that there are a lot of build environments besides Visual Studio, and having all those project files next to each other would become a problem in the long run.
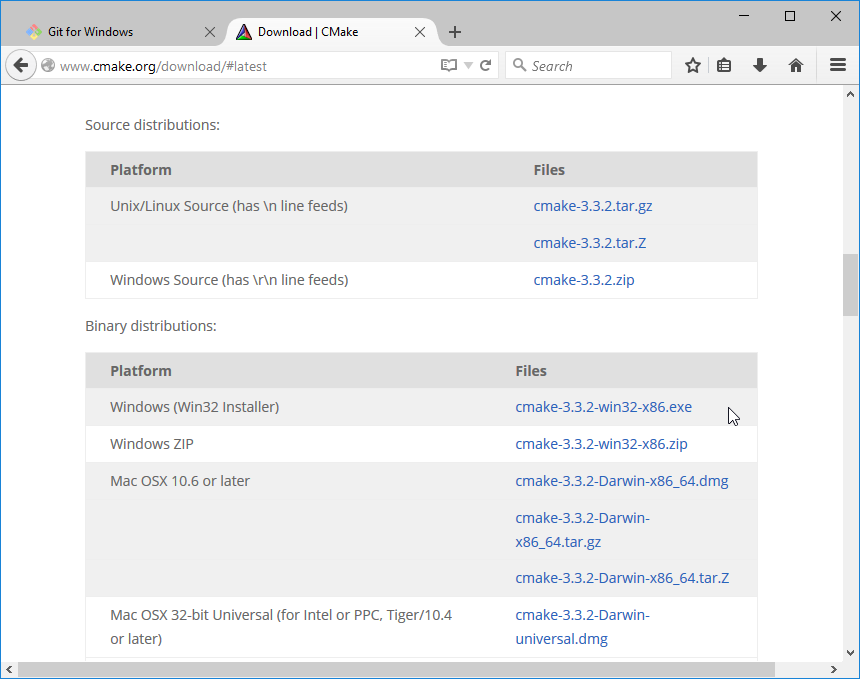
What we need is CMake. Follow that link and download the installer:
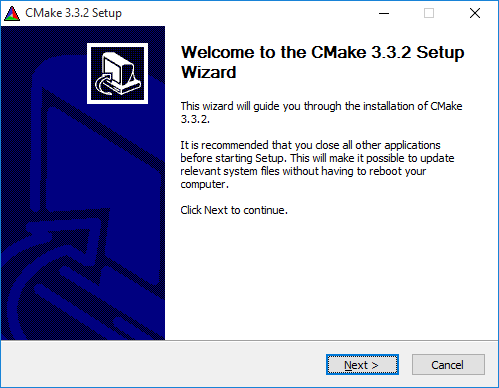
You know what to do.
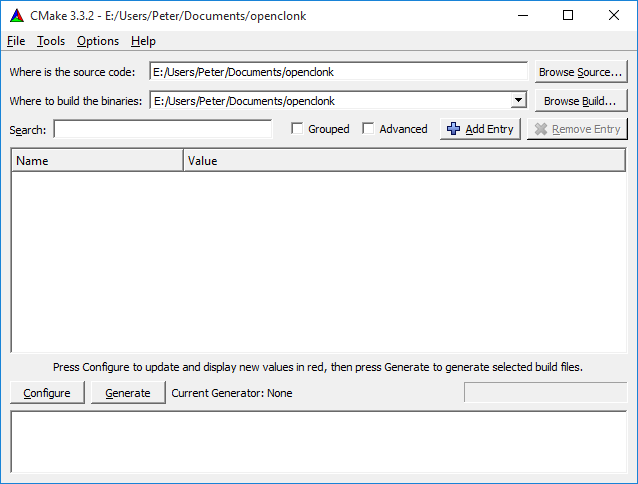
After the installation, start the CMake GUI from the start menu. Put the path you cloned the repository into the source code path field.
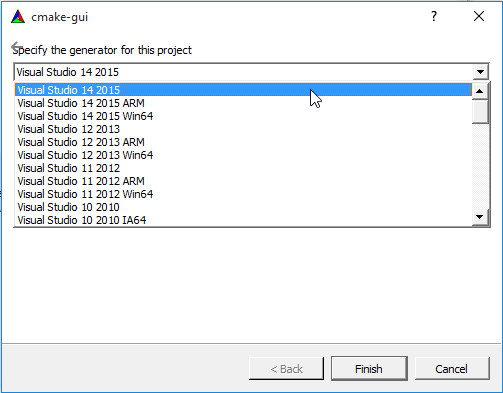
Now click the "Configure" button in the lower left. It will ask what compiler we want to use. Select the compiler you want to use, for example "Visual Studio 10". Do not pick the Win64 option, as the precompiled libraries are 32 bit.
If you get some error messages (in red), you're probably missing some dependencies. Don't worry if cmake complains about some missing paths, it shouldn't affect you.
The last step is to click the "Generate" button.
Your First Build
Okay, now we have everything needed to make OpenClonk run for the first time. Go into the source directory and double-click on the "openclonk.sln" file that should now have appeared:
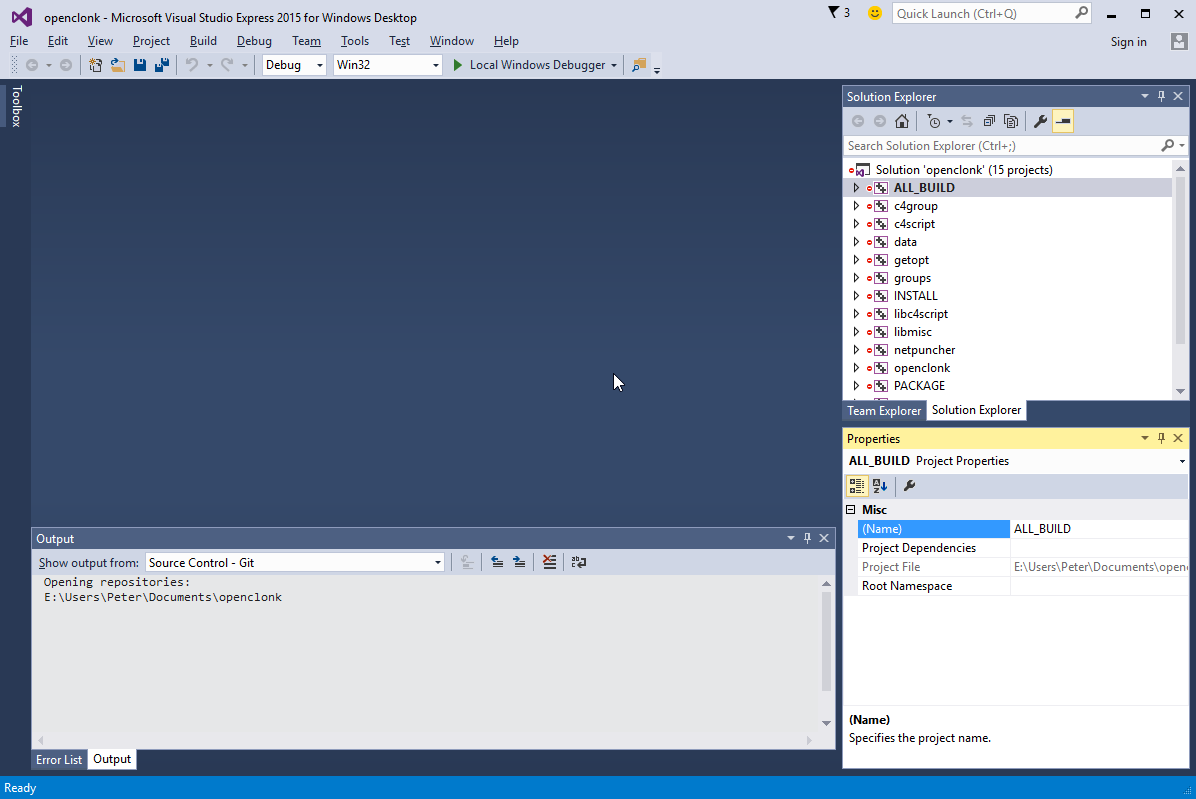
Visual C++ should open and look similar to this:
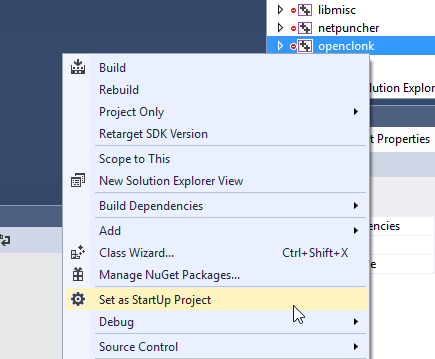
We only want to build the engine, so select "clonk" from the list, right-click and select "Set as Start-Up project"
Now select "Build Solution" from the "Build" menu (or just press F7). No, I don't know what "solution" means. Drink a cup of coffee or two while you wait for the compiler to do its job.
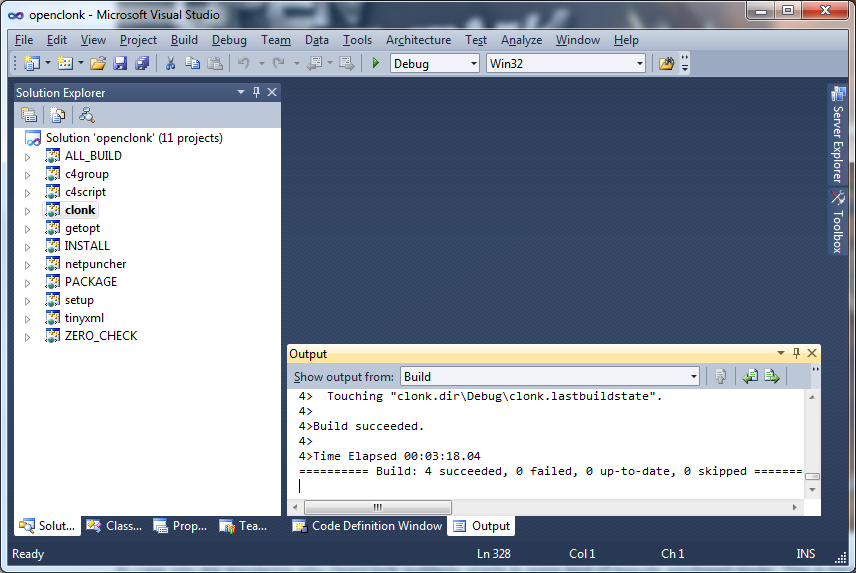
Eventually, you will arrive at this screen and probably wonder who taught those coders the kind of shoddy practices that result in more then 600 warnings.
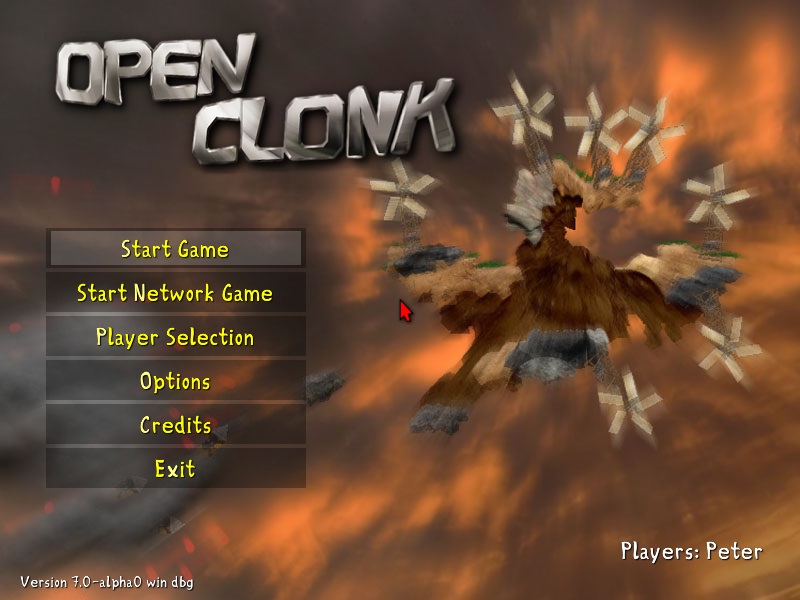
Nevertheless, you can now select "Start Debugging" from the "Debug" menu (or just press F5) and should be greeted by the startup screen of a fresh OpenClonk build!
In case you are wondering why OpenClonk suddenly starts in some kind of pseudo windowed mode: This is because we just built a debug build (note the "dbg" after the version?). This build is a bit slower but allows you to get a better look at the internals of the engine while it's running. Maybe we'll have another article about that soon.
Enabling sound and DirectX
So far, the version of OpenClonk you can compile runs with OpenGL only and without sound. Here is how to enable both DirectX and sound:
Download the latest DirectX SDK from the Microsoft website and install it. For sound, download the FMOD 3 Programmers API and unpack it somewhere. Now, you need to copy api/fmod.dll into your planet/ directory, all the files that are in api/inc to planet/deps/include and api/lib/fmodvc.lib to planet/deps/lib.
Thats it. Now, you need to re-run CMake and check both USE_DIRECTX and USE_FMOD. Compiling the game with VC++ will now produce a build where you can hear the sound and use direct x.

