Modelling Workflow
In this article, I explain our workflow of creating a model for open clonk at the example of the lorry originally created by Mimmo.
Sketch
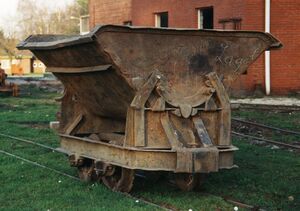
Every good modelling process starts with a sketch or some other image as a pattern. For the lorry, Mimmo used a picture from wikimedia commons.
Low-Poly Model
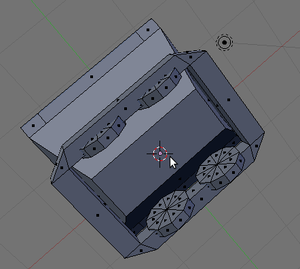
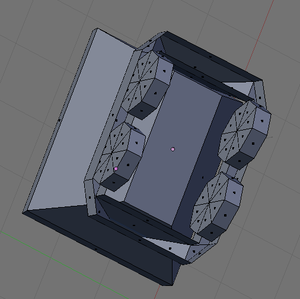
This is the low-poly model of the lorry from Mimmo. If you plan to create both low- and high-poly models, always create a low-poly model first. I assume that you know how to model ;-)
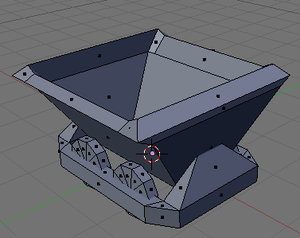
Details which can be displayed on the texture can be deleted. As you can see in the images, I deleted the inner polygons of the container as well as bottom and top of the thing where the wheels are attached plus replaced the top by a simpler geometry. So, to know which polygons are not important, you need to know from where the model should be visible. Let's say the lorry can be displayed from the side, has a turning animation, a dumping animation and a enter-into-building animation. As the wheel will only be visible from one side, I deleted the vertices facing backwards and the polygons facing to the bottm and top. This is actually all small shit and doesn't matter too much, you don't need to overdo this step.
The lorry here is just a simple example of this removing polygons because of
- geometric details in the texture that go into the texture rather than in the model
- polygons that are inside other objects and thus never visible
- polygons that are never visible from any view in-game
UV unwrap
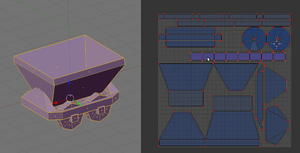
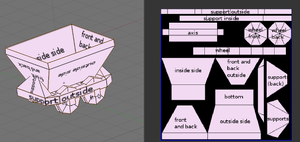
-> good uv unwrap; zones which are directly visible are more important -> can be bigger in the tex; be kind to the texture artist and *beschriften* a uv-map template; the rest of the work can be made by 2d artist(s).
more
-> if needed, on the basis of the low-poly model, a high-poly model (& normal map) can be created.
-> later but independent of uv-map, geometry etc -> animations

