Modelling Workflow
In this article, I explain our workflow of creating a model for open clonk at the example of the lorry originally created by Mimmo.
Sketch
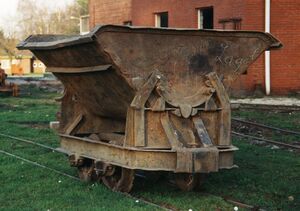
Every good modelling process starts with a sketch or some other image as a pattern. For the lorry, Mimmo used a picture from wikimedia commons.
Low-Poly Model
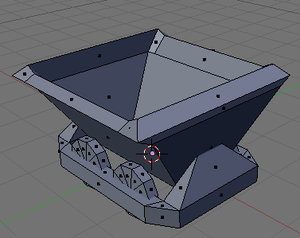
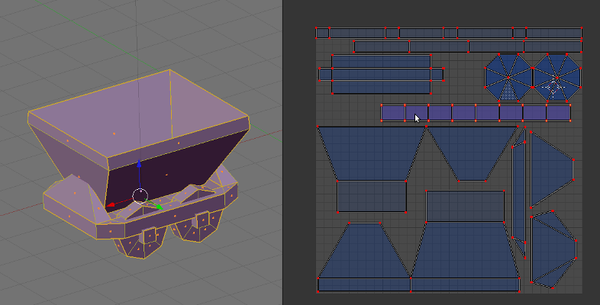
This is the low-poly model of the lorry from Mimmo. If you plan to create both low- and high-poly models, always create the low-poly model first. I assume that you know how to model ;-)
The guideline on how low-poly the model should be is: The model with texture still needs to look good when displayed 3x the size as in Clonk Rage - there is no fixed number on how many polygons are good since it depends strongly on the model.
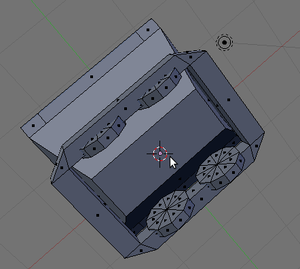
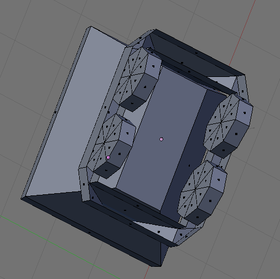
Details which can be displayed on the texture can be deleted. As you can see in the images, I deleted the inner polygons of the container as well as bottom and top of the thing where the wheels are attached plus replaced the top by a simpler geometry. So, to know which polygons are not important, you need to know from where the model should be visible. Let's say the lorry can be displayed from the side, has a turning animation, a dumping animation and a enter-into-building animation. As the wheel will only be visible from one side, I deleted the vertices facing backwards and the polygons facing to the bottm and top. This is actually all small shit and doesn't matter too much, you don't need to overdo this step.
The lorry here is just a simple example of this removing-the-polygons step because of
- geometric details in the texture that go into the texture rather than in the model
- polygons that are inside other objects and thus never visible
- polygons that are never visible from any view in-game
UV unwrap
After having created the final low-poly model, create a good and clear UV map. The quality of the texture map (, normal maps etc) depends on the quality and effectivity is dependend on this step, do not underestimate this step. However, I assume that you know how to unwrap a model (Tutorial for Blender). Additionally, if you have extra-space in the uv-map, you could slightly enlarge the polygons which are visible from the front of the model since these are the most important in a 2D game - as you can imagine.
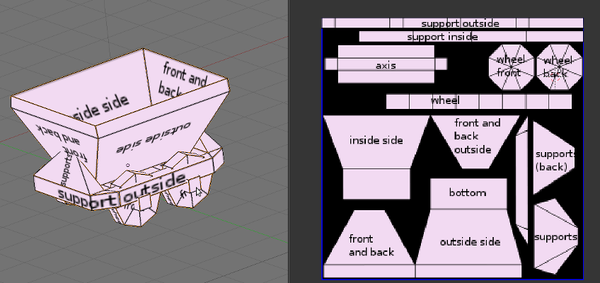
Be so kind and create and label a uv-map template and save it as an image. This helps the person who does the texturing work big deal; because the work of the texturing can be done (better) by 2D-artists and doesn't have to be up to the person who did the modelling. Depending on the actual size of the model ingame, you can save the UV map template in different sizes. For the lorry, I chose 256x256 because it is a very tiny model.
On the last screenshot you can see that because of backface culling, the inside of the container of the lorry is not visible - but since the lorry will never be shown from the top, this is okay.
Animation and normal maps
After you created a UV map, you can add the animations if there are any. Additionally, if the model is egible for having a normal map, you can create a high-poly model of the lorry where you actually do model even the little geometric details. But keep in mind, to be able to bake a normal map with a high-poly model, the high- and low-poly model must have the same geometry (Tutorial for Blender). In Blender, there is a option called "multires" which allows you to create several models in different detail levels based on one low-poly model and it's geometry.
So when is a model egible of having a normal map. First there is to say that at this point of development we can not even say if we will be able to use normal maps. In general, creating normal maps for models only makes sense for those which have organic, round parts where too much polygons would need to be used. So, for blocky buildings it's normally not necessary - more for living creatures with one (Blender: example) enclosing mesh.

